Topics Used
- Build Consultation
- Hardware Troubleshooting
- Cost Benefit Analysis
- Collaboration
Intro
Back in the fall of 2020, I was busy flipping a Dell Optiplex. I had just finished upgrading my own desktop and wanted something else to tinker with. My friend Isaiah saw what I was up to and got curious.
He asked if I could help him pick out parts for a new build of his own. He knew a bit about hardware, but he wanted my input since I had done a few of these builds before. He also wanted a hand with the actual assembly. Working with expensive parts can be pretty nerve-wracking, and he knew having me there would make the process a lot faster. He just wanted to get up and running as soon as possible.
We hopped on Discord and used PCPartPicker to map everything out. I told him a solid build with room for future upgrades would probably land between $600 and $700. That was just a ballpark, though. I figured we could start there and adjust the parts if the total ended up being too high or too low.
Selecting Parts
When we started picking parts, I suggested going with a Ryzen processor right away. The 3000 series offered great value, and since the upcoming 5000 series used the same socket, he could upgrade later without buying a new motherboard. We settled on the Ryzen 3100. It has 4 cores and 8 threads, which is plenty for most games. A beefier CPU would only really matter for heavy multitasking or video editing. We almost went with the Ryzen 3600, but we needed to keep costs down. Plus, he could always swap it out for a 3600 or better down the road.
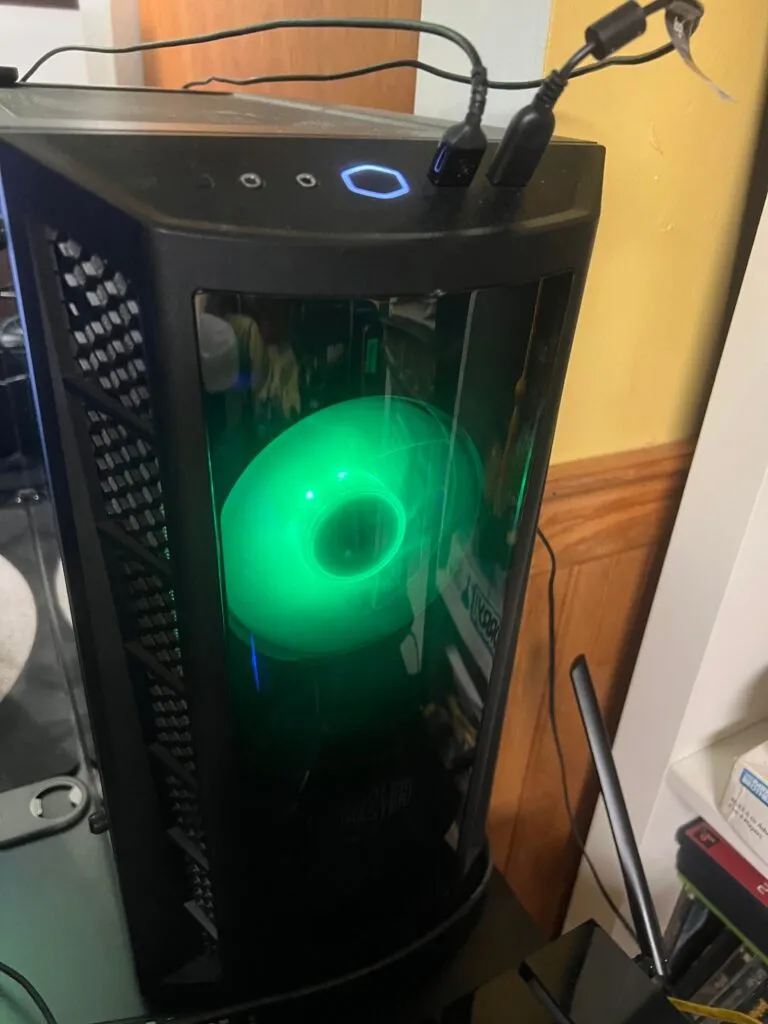
Motherboards are more about compatibility than raw performance. You only really need an expensive one if you are into overclocking or need specific features. Since we knew we were using the 3100, we just picked the cheapest compatible board we could find. It was a micro-ATX model, which narrowed down our case options. Cases do not affect performance much as long as the airflow is decent, so we went with the Cooler Master MasterBox MB311L.
The rest of the parts were not restricted by size, but we still had some goals. 16GB of RAM is recommended for gaming, and I wanted to make sure it was at least 3200MHz, so we grabbed the cheapest kit we could find at that speed. The board has four slots, so he can always add more later. For storage, we kept it simple. Isaiah already had a 250GB SSD from his old computer for the OS, so we just added a cheap 2TB hard drive for games and larger files.
Then there was the GPU. There was a massive shortage at the time, but you could still snag one if you caught a restock. Luckily, Newegg restocked the NVIDIA 1660 Super right when we needed it. It was perfect for the budget and could handle 1080p gaming at 144Hz on high settings. I also recommended NVIDIA for the NVENC encoder. It handles the heavy lifting for streaming so the CPU does not have to, which was a big plus since the Ryzen 3100 isn’t exactly a multitasking beast.
Finally, we needed a power supply. I told Isaiah to get something with more wattage than he actually needed and to look for an 80+ rating for quality. He actually ended up buying one before I could check it, but it was a 600W 80+ certified unit, so it worked out fine. I usually care a bit more about the brand and how it looks, but he was happy with it, and that is what matters.
Full Specs:
- CPU: Ryzen 3100
- Motherboard: ASRock B450M PRO4 AM4 Micro ATX AMD Motherboard
- Case: Cooler Master MasterBox MB311L
- RAM: Team T-FORCE VULCAN 16GB (2x8GB) 3200MHz
- Storage: 240GB Kingston A400 SSD & 2TB Seagate BarraCuda ST2000DM008
- GPU: NVIDIA 1660 Super 6GB
- PSU: COUGAR VTE600 600W ATX12V PFC Power Supply
Building The Desktop
Once the parts arrived, I headed over to Isaiah’s place to get started. Everything went smoothly at first. We got the CPU, RAM, and motherboard installed without any issues, and the front panel cables were easy enough. The fans were a bit more confusing, though. They were ARGB fans with several different connector options. It seemed like they wanted to give us multiple ways to power the LEDs, but the manual was pretty vague. I ended up just taking a best guess on where to plug them in and it worked.
Next up was the GPU. There is a small gap between the case slots and the motherboard where the GPU bracket is supposed to slide in. While we were lining it up, we realized the bracket was actually hitting the motherboard. Not great. We tried to pull it back out of the PCIe slot, but it would not budge. I thought PCIe slot had a sliding latch, but it was actually a push lever. When we tried to force it, the lever snapped right off. Luckily, it was designed to be removable, so we just popped it back on. We did not actually break anything, but it was definitely a tense moment. After that, we got it seated perfectly.
Then came the first test boot. It posted right away, and all the fans and lights looked good. Since it was working, I started tidying up the cables and putting the panels back on. But when we turned it back on to install Windows, one of the fan LEDs suddenly would not light up. We double-checked every connection, but nothing had changed since the first boot. It was annoying, but at least the fan itself was still spinning. I think I might have pulled the RGB wire a bit too hard while cable managing, causing it to fail. We tried a few fixes, but eventually, we just had to live with one dark fan.
We finished the Windows installation and got all the drivers updated without any other hitches.
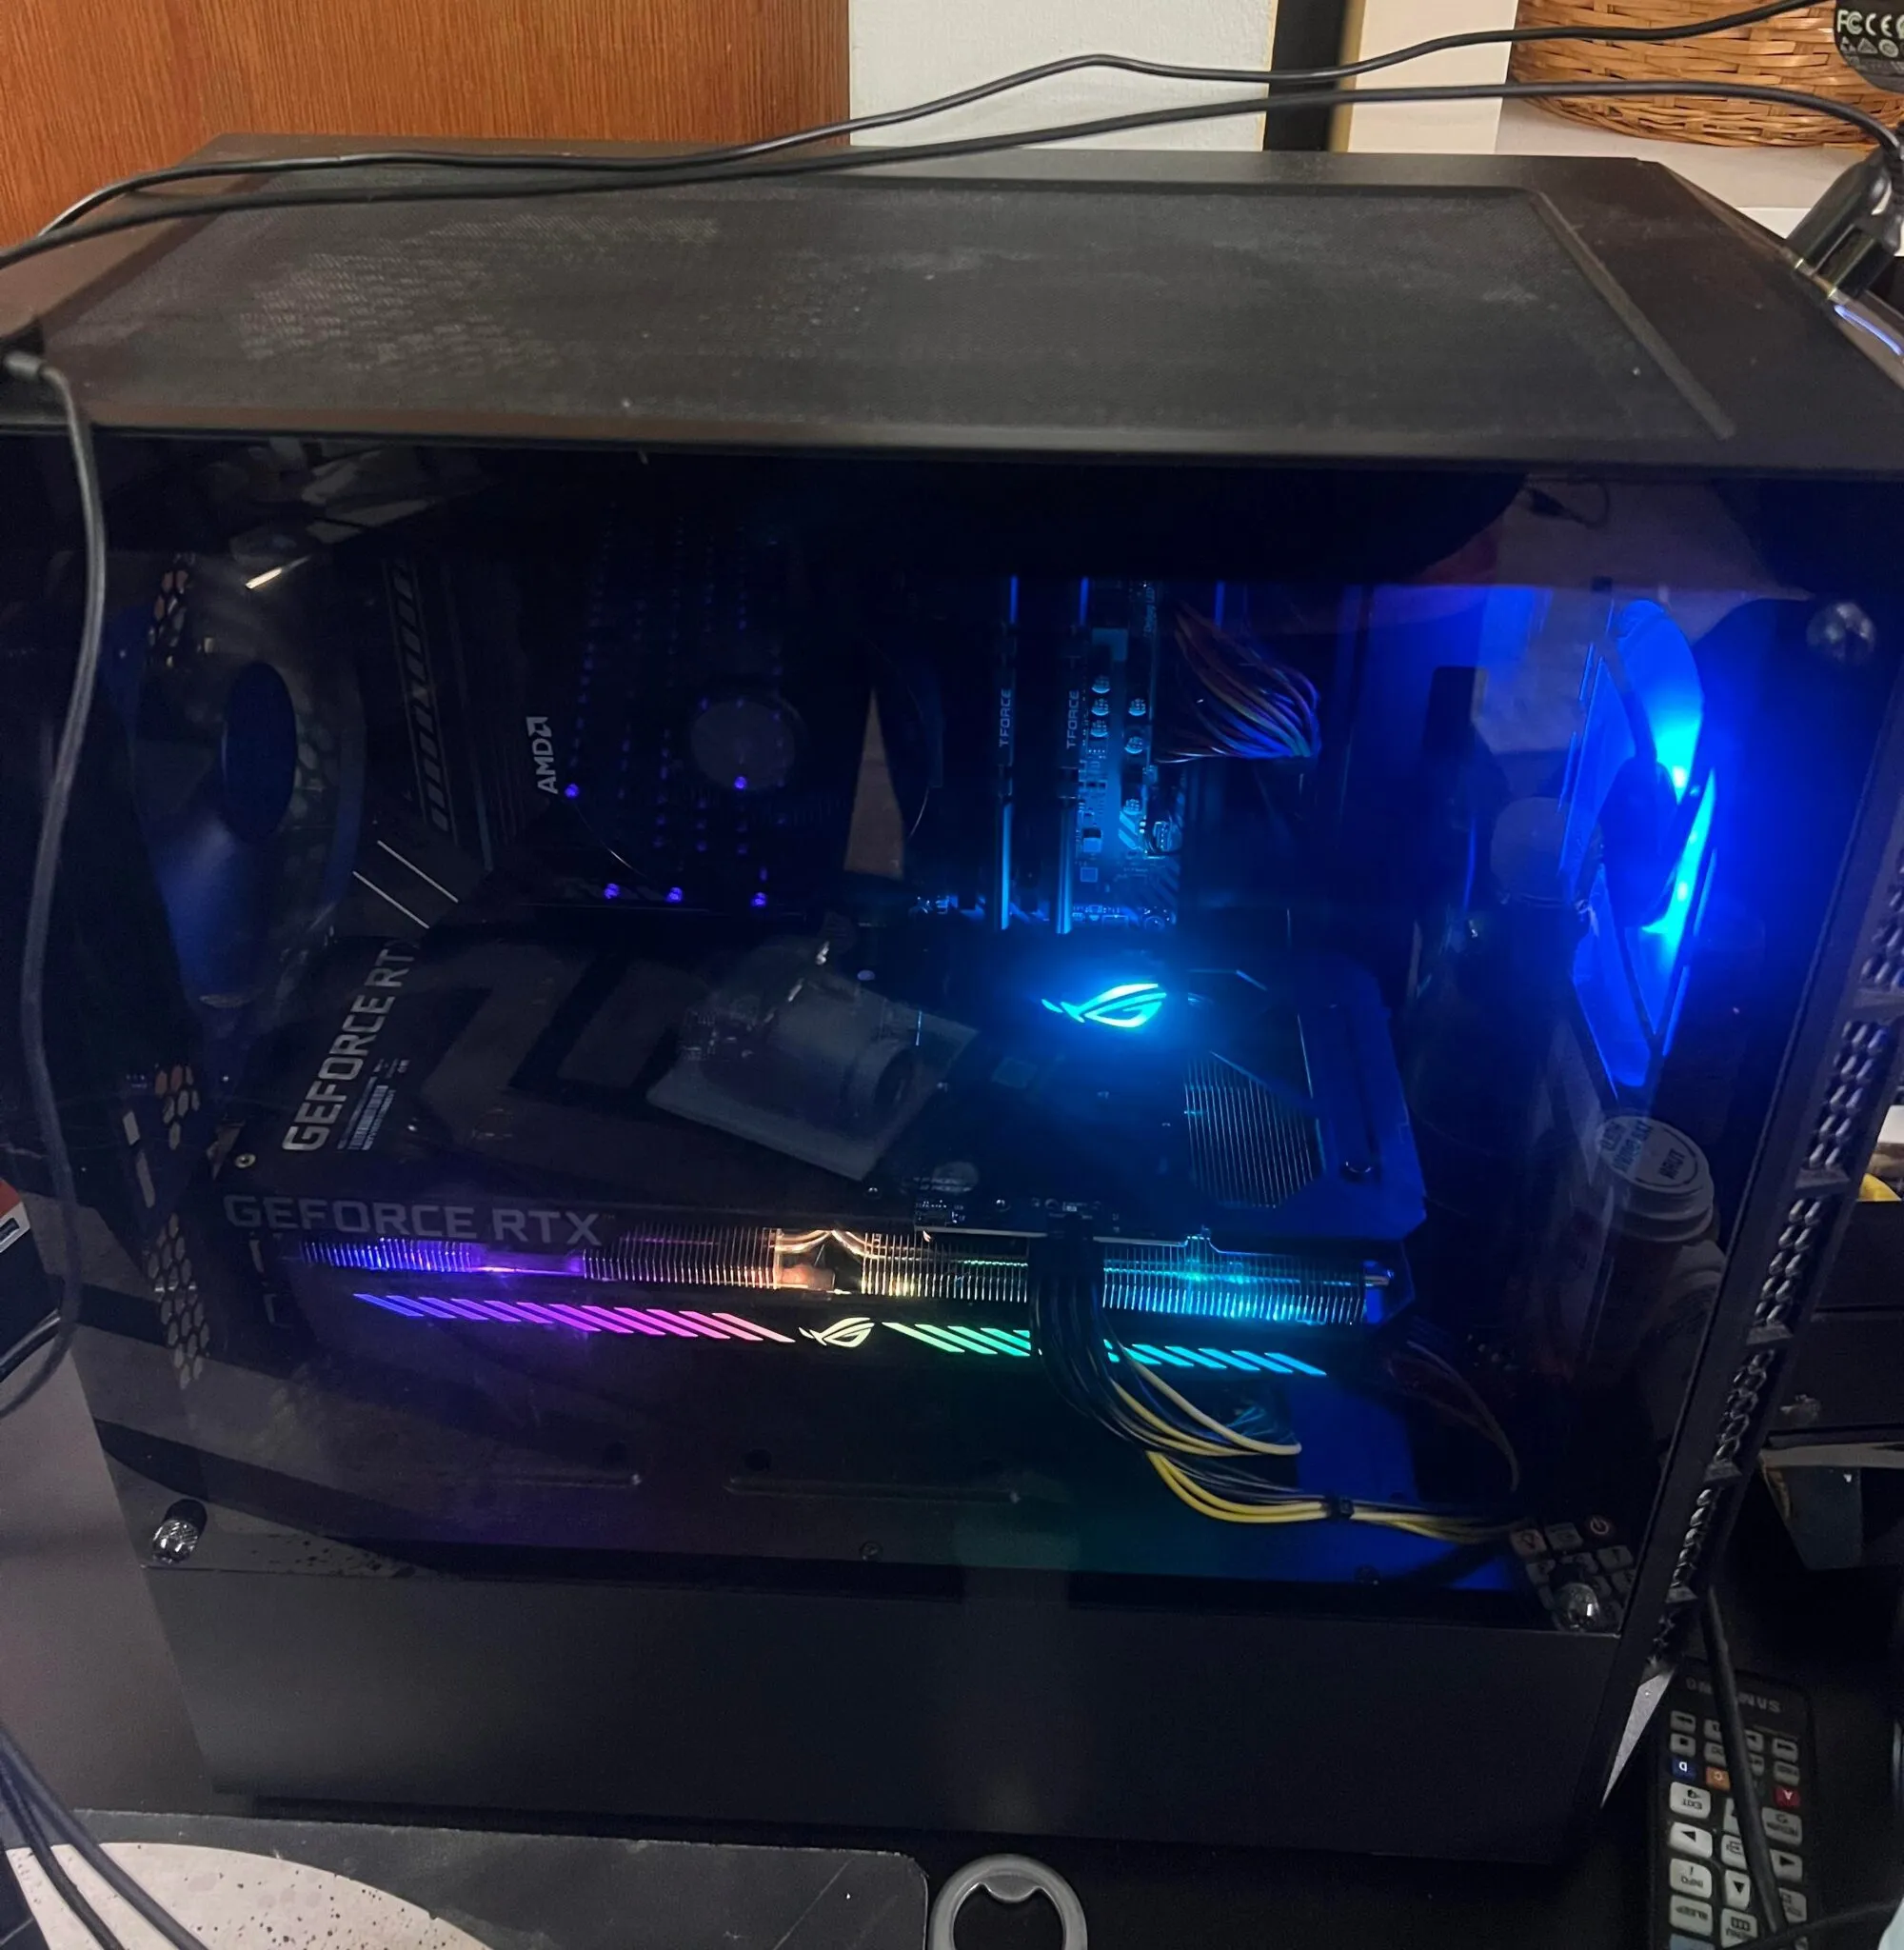
Upgrades
Isaiah ended up doing some upgrades on his own in August 2021. He actually managed to snag an RTX 3060 by just showing up at a Micro Center and getting lucky with their stock. This was back when finding a GPU at a decent price was nearly impossible, so I am honestly a little jealous. I am super proud of him, though!
Specs:
- CPU: Ryzen 3100 → Ryzen 5600X
- Case: added 2 fans (1 each to the top and rear of case)
- Storage: 250GB ADATA SU635 SSD → 2TB NVMe 3.0 SSD
- GPU: NVIDIA 1660 Super 6GB → NVIDIA GeForce RTX 3060 12GB